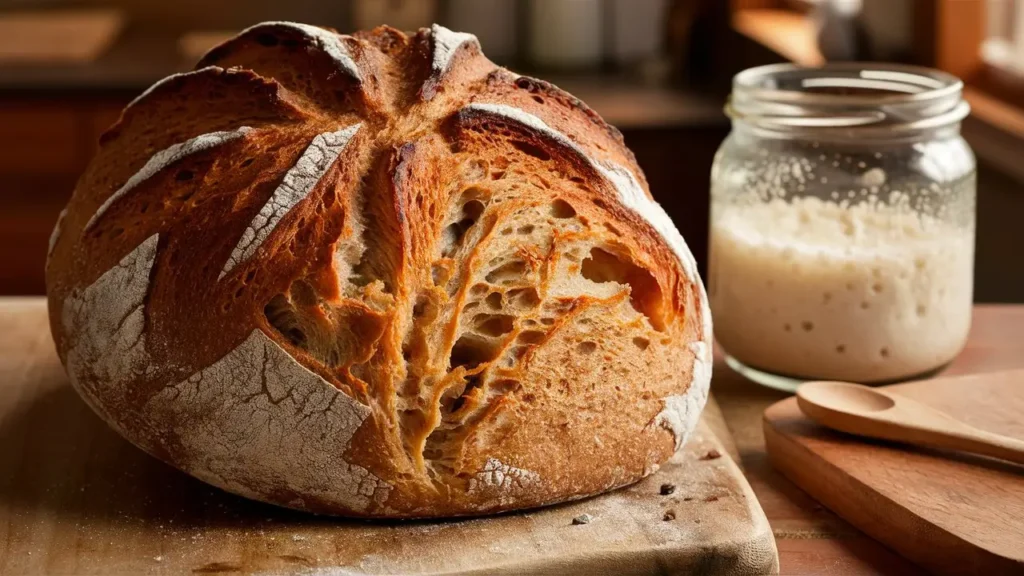
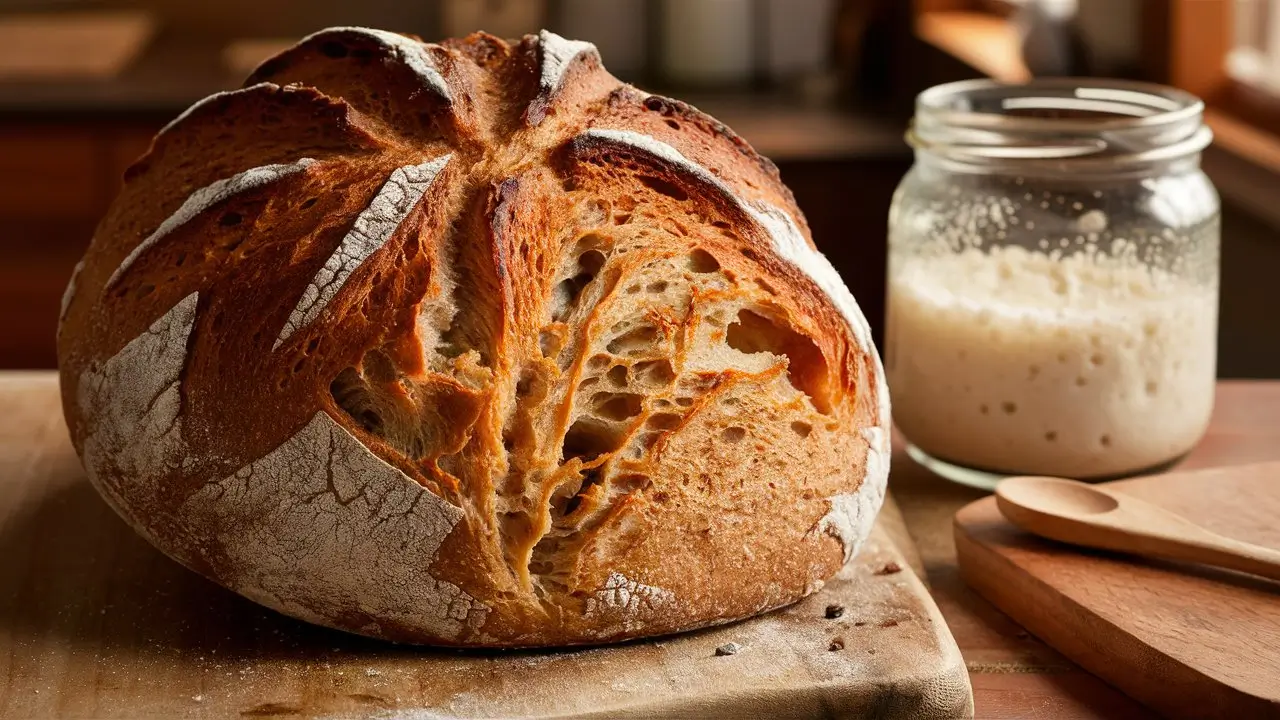
If you’re looking for the perfect Sourdough Bread Recipe with Starter, you’ve come to the right place. Sourdough bread is one of the most rewarding and delicious types of bread you can make at home. With its crispy crust, chewy texture, and slightly tangy flavor, it’s no wonder that sourdough has become a favorite among home bakers. Unlike regular bread that uses commercial yeast, sourdough bread relies on a natural starter, which is a fermented mixture of flour and water that captures wild yeast from the environment.
If your sourdough starter is ready, this step-by-step guide will walk you through making a delicious homemade loaf.

Why You’ll Love This Sourdough Bread Recipe
-
No commercial yeast required – Uses a natural sourdough starter.
-
Incredibly flavorful – The long fermentation enhances taste and texture.
-
Healthier than store-bought bread – Easier to digest and lower in gluten.
-
Perfect for beginners – A detailed guide with tips to help you succeed.
Ingredients List
Ingredients:
-
500g (3 ¾ cups) bread flour (or all-purpose flour)
-
100g (½ cup) active sourdough starter
-
10g (2 teaspoons) salt
-
350g (1 ½ cups) water (room temperature)
Equipment:
-
Mixing bowl – For combining ingredients.
-
Dutch oven or baking stone – Helps achieve a crispy crust.
-
Bench scraper – For handling the dough.
-
Proofing basket (banneton) or bowl – To shape and hold the dough.
-
Kitchen scale – Helps measure ingredients accurately.
-
Sharp knife or bread lame – For scoring the dough before baking.
Timing
-
Prep Time: 30 minutes
-
Bulk Fermentation: 6-8 hours
-
Proofing: 1-2 hours
-
Baking Time: 40-45 minutes
-
Cooling Time: 1 hour
-
Total Time: 10-12 hours (including fermentation)
Step-by-Step Guide to Making Sourdough Bread
Step 1: Feed Your Sourdough Starter (If Needed)
If your starter has been in the fridge, feed it 4-6 hours before baking. Make sure it’s active, bubbly, and has doubled in size before using it in your dough.
Step 2: Mix the Dough (Autolyse Stage)
-
In a large bowl, mix flour and water until fully combined.
-
Let it rest for 30-45 minutes to allow the flour to absorb the water.
Step 3: Add the Sourdough Starter and Salt
-
Mix in the sourdough starter and salt.
-
Use your hands or a dough whisk to fully incorporate the ingredients.
Step 4: Stretch and Fold the Dough
-
Instead of kneading, use the stretch and fold method:
-
Stretch one side of the dough and fold it over.
-
Turn the bowl and repeat 4-6 times.
-
-
Repeat this process every 30 minutes for 2 hours to develop gluten structure.
Step 5: Bulk Fermentation (First Rise)
-
Cover the dough with a damp towel and let it rest at room temperature for 6-8 hours (or overnight in the fridge).
-
The dough should double in size.
Step 6: Shape the Dough
-
Gently remove the dough from the bowl.
-
Shape it into a round or oval loaf by folding the edges toward the center.
-
Place the dough into a floured proofing basket or bowl.
Step 7: Second Rise (Proofing)
-
Cover and let it rise for 1-2 more hours at room temperature.
-
If you prefer, refrigerate the dough overnight for a deeper flavor.
Step 8: Preheat the Oven
-
Preheat your oven to 475°F (245°C).
-
Place a Dutch oven or baking stone inside to heat up.
Step 9: Score the Dough
-
Turn the dough onto parchment paper.
-
Use a sharp knife or bread lame to make a deep slash across the surface.
Step 10: Bake the Sourdough Bread
-
Place the dough into the preheated Dutch oven.
-
Cover and bake for 20 minutes.
-
Remove the lid and bake for another 20-25 minutes until golden brown.
Step 11: Cool and Enjoy
-
Let the bread cool on a wire rack for at least 1 hour before slicing.

Tips for the Best Sourdough Bread
1. Make Sure Your Starter is Active
A strong starter should be bubbly, double in size, and smell slightly tangy before use.
2. Use High-Quality Flour
Bread flour gives the best gluten development, but all-purpose flour works too.
3. Adjust Hydration if Needed
If your dough feels too sticky, add a little more flour. If too dry, add a splash of water.
4. Refrigerate the Dough Overnight
A longer fermentation in the fridge enhances the flavor and texture of the bread.
5. Don’t Skip the Stretch and Folds
These gentle folds strengthen the dough and create an airy crumb.
Common Problems & Solutions
ProblemSolutionDough is too stickyAdd a little more flour and keep stretching/foldingBread is too denseMake sure your starter is active and bubblyCrust is too hardReduce baking time or brush crust with waterBread didn’t riseAllow more time for bulk fermentation
Variations of Sourdough Bread
1. Whole Wheat Sourdough
Replace 25-50% of the flour with whole wheat flour for a more rustic loaf.
2. Garlic & Herb Sourdough
Mix in 1 teaspoon garlic powder and 1 tablespoon dried herbs before shaping.
3. Sourdough Rolls
Instead of one big loaf, divide the dough into smaller portions and bake as rolls.
4. Cheese & Jalapeño Sourdough
Add ½ cup shredded cheese and 1 chopped jalapeño to the dough.
What to Serve with Sourdough Bread
-
With Butter & Honey: Classic and delicious.
-
Avocado Toast: Topped with eggs, tomatoes, or smoked salmon.
-
Soup & Stew: Perfect for dipping into creamy soups.
-
Sandwiches: Makes an amazing grilled cheese or turkey sandwich.
Storage & Freezing Tips
Storing Fresh Sourdough Bread
-
Keep at room temperature in a bread box or paper bag for up to 4 days.
-
Avoid plastic bags as they can make the crust soft.
Freezing Sourdough Bread
-
Slice the bread and freeze in an airtight bag for up to 3 months.
-
Toast slices directly from the freezer when needed.
Conclusion
Making homemade sourdough bread is a labor of love, but the results are absolutely worth it. The crispy crust, tangy flavor, and soft, airy crumb make this bread so much better than anything store-bought.
With practice, you’ll master the process and be able to tweak the recipe to your liking. Whether you enjoy it fresh, toasted, or as a sandwich, homemade sourdough bread is a true delight.
