
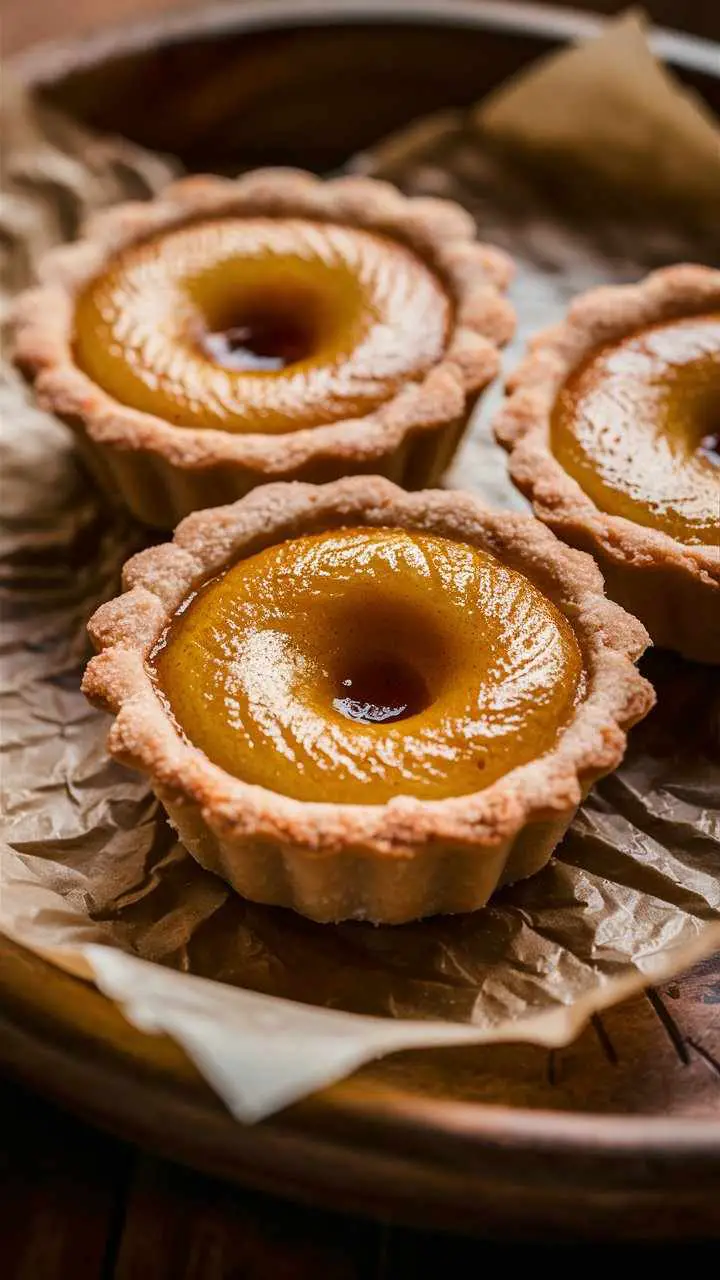
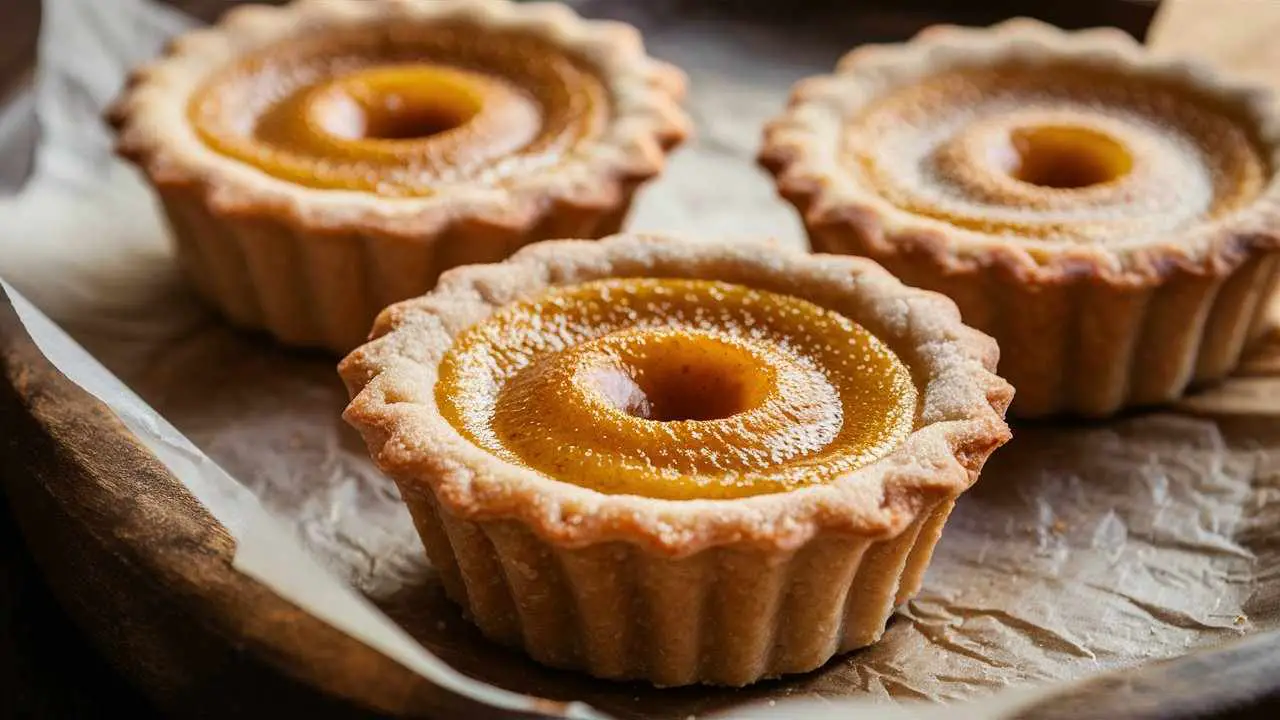
If you’re a fellow foodie with a penchant for delectable desserts, then you’ve likely encountered the irresistible allure of butter tarts – a quintessential Canadian treat that has been delighting taste buds for generations. However, for those adhering to a gluten-free lifestyle, indulging in this beloved delicacy can be a challenge. Fear not, dear reader, for we’ve crafted a tantalizing gluten-free version that will transport you to a realm of pure bliss, without compromising your dietary restrictions.
What Makes a Butter Tart Gluten-Free?
The traditional butter tart recipe relies heavily on wheat-based ingredients, rendering it off-limits for individuals with gluten intolerances or celiac disease. To create a gluten-free rendition, we’ve meticulously substituted the conventional flour with a harmonious blend of gluten-free flours, ensuring a tender, flaky crust that rivals its wheat-based counterpart.
Ingredients
For the Gluten-Free Pastry Crust:
- 3/4 cup (90g) white rice flour
- 3/4 cup (90g) light buckwheat flour
- 1/2 cup (60g) millet flour
- 1/4 cup (30g) sweet rice flour
- 1/4 cup (30g) corn starch, plus extra for rolling
- 2 tablespoons (25g) granulated sugar
- 2 teaspoons (6g) xanthan gum
- 8 ounces (225g) cream cheese, at room temperature
- 1/2 cup (115g) cold unsalted butter
- 1 large egg
- 1/4 cup (60ml) cold water
For the Butter Tart Filling:
- 1 cup (150g) raisins
- 1/2 cup (115g) unsalted butter, softened
- 1 1/2 cups (300g) light brown sugar, packed
- 1/2 cup (120ml) pure maple syrup
- 5 large eggs, whisked
- 1/2 cup (60g) chopped walnuts or pecans (optional)
Timing
| Preparation Time | Cooking Time | Total Time |
| 45 minutes | 25 minutes | 1 hour 10 minutes |
Step-by-Step Recipe for Gluten Free Butter Tarts
Step 1- Prepare the Gluten-Free Pastry Crust:
- In a large bowl, whisk together the white rice flour, buckwheat flour, millet flour, sweet rice flour, corn starch, sugar, and xanthan gum.
- Cut in the cream cheese and cold butter using a pastry blender or two forks until the mixture resembles coarse crumbs.
- Add the egg and cold water, mixing gently until a dough forms. If the dough seems too dry, add a tablespoon or two of water.
- Wrap the dough in plastic wrap and refrigerate for at least 30 minutes.
Step 2- Prepare the Butter Tart Filling:
- In a small saucepan, melt the butter over low heat.
- Remove from heat and whisk in the brown sugar until well combined.
- Allow the mixture to cool slightly, then whisk in the maple syrup and eggs until fully incorporated.
- Stir in the raisins and chopped nuts (if using).
Step 3- Assemble the Tarts:
- Preheat your oven to 375°F (190°C).
- On a lightly floured surface, roll out the chilled dough to about 1/4-inch thickness.
- Using a round cookie cutter or a glass, cut out circles slightly larger than the wells of a muffin tin.
- Carefully transfer the dough circles to the muffin tin, gently pressing them into the wells and crimping the edges as desired.
- Fill each tart shell with the butter tart filling, leaving a 1/4-inch space at the top.
Step 4- Bake and Cool:
- Place the filled tart shells on the middle rack of your preheated oven.
- Bake for 20-25 minutes, or until the crust is golden brown and the filling is set.
- Remove the tarts from the oven and allow them to cool completely on a wire rack before serving.
Tips for Perfect Gluten-Free Pastry and Filling
Chill the Dough: Resting the dough in the refrigerator allows the gluten-free flours to fully hydrate, resulting in a more pliable and easier-to-work dough.
Use Parchment Paper or Plastic Wrap: When rolling out the dough, place it between two sheets of parchment paper or plastic wrap. This prevents sticking and makes transferring the dough to the muffin tin a breeze.
Don’t Overmix the Filling: Overmixing the butter tart filling can cause the eggs to become dense and rubbery. Gently whisk until just combined for a luscious, velvety texture.
Adjust Baking Time: Gluten-free baked goods can sometimes require a slightly longer baking time. Keep an eye on your tarts and adjust the cooking duration as needed for a perfectly set filling and golden crust.
Let Cool Completely: Resist the temptation to dig in right away! Allowing the tarts to cool completely ensures that the filling sets properly and prevents the crust from becoming soggy.
Variations and Customizations for Gluten-Free Butter Tarts
Nutty Delight: Omit the raisins and increase the amount of chopped nuts to 1 cup for a delightfully crunchy twist.
Tropical Twist: Substitute the raisins with 1 cup of diced pineapple or mango for a burst of tropical flavors.
Chocolate Indulgence: Sprinkle 1/2 cup of semi-sweet chocolate chips over the filling before baking for a decadent chocolate-infused treat.
Boozy Butter Tarts: Add 2-3 tablespoons of your favorite liqueur (such as rum, whiskey, or brandy) to the filling for an adult-friendly kick.
Serving and Presentation Ideas
Dusted with Powdered Sugar: A light dusting of powdered sugar adds a touch of elegance and enhances the visual appeal of your gluten-free butter tarts.
Dollop of Whipped Cream: Top each tart with a dollop of freshly whipped cream for a luxurious and indulgent treat.
Drizzle of Caramel Sauce: Elevate the flavors by drizzling a homemade caramel sauce over the cooled tarts, creating a stunning and irresistible presentation.
Tart Platter: Arrange the tarts on a decorative platter, garnished with fresh berries, mint sprigs, or edible flowers for a beautiful and inviting display.
Nutritional Facts
- Calories: 320
- Total Fat: 16g
- Saturated Fat: 8g
- Trans Fat: 0g
- Cholesterol: 80mg
- Sodium: 120mg
- Total Carbohydrates: 42g
- Dietary Fiber: 2g
- Sugars: 28g
- Protein: 4g
Conclusion
Indulging in the delectable flavors of gluten-free butter tarts is no longer a distant dream. With this meticulously crafted recipe, you can savor the rich, buttery goodness of this beloved Canadian treat without compromising your dietary needs. Embrace the joy of baking and share these delightful morsels with your loved ones, creating cherished memories with every bite. Bon appétit!
FAQs
Can I use a different type of gluten-free flour blend?
While the specified blend of flours in this recipe has been carefully curated, you can experiment with other gluten-free flour blends. However, keep in mind that the texture and flavor may vary slightly. It’s recommended to use a blend that includes rice flour, tapioca starch, and xanthan gum for optimal results.
Can I make the tarts ahead of time?
Absolutely! These gluten-free butter tarts freeze beautifully. Once cooled, place them in an airtight container or ziplock bag, separating the layers with parchment paper. When ready to serve, simply thaw them at room temperature or in the refrigerator overnight.
Can I use a different sweetener instead of brown sugar?
While brown sugar lends a distinct caramel-like flavor to the filling, you can substitute it with coconut sugar or maple sugar for a slightly different taste profile. Adjust the quantities as needed to achieve the desired level of sweetness.
Can I make these tarts dairy-free?
To make a dairy-free version, replace the butter in the crust and filling with a vegan butter substitute or coconut oil. Additionally, use dairy-free cream cheese or a suitable alternative for the crust.
How long do these tarts stay fresh?
Properly stored in an airtight container at room temperature, these gluten-free butter tarts will stay fresh for up to 5 days. For extended freshness, you can refrigerate them for up to a week or freeze them for up to 3 months.
Remember, the key to creating delectable gluten-free butter tarts lies in the perfect balance of ingredients, meticulous techniques, and a generous sprinkle of love. Embrace your inner pastry chef and indulge in this Canadian classic, one delightful bite at a time!